How to Build a Header in HubSpot – A Comprehensive Guide for Your Website and Email Marketing
The header of your website or email is often the first thing your audience sees.
It’s your brand’s calling card, setting the tone for the rest of the content and providing key navigation elements.
Whether you’re building a website header or designing one for your email marketing campaigns, doing it right is crucial.
HubSpot offers tools to help you build headers that are not only visually appealing but also highly functional.
In this guide, we’ll explore how to build a header in HubSpot, focusing on customization and implementation.
How to Build a Header in Hubspot – Video Tutorial
HubSpot is a leading platform for inbound marketing, sales, and customer service.
One of the key features of HubSpot is its editing in designing and customizing headers for websites and emails.
Master the steps to create a fully customized and responsive header in HubSpot by watching this video.
Why Headers Matter?
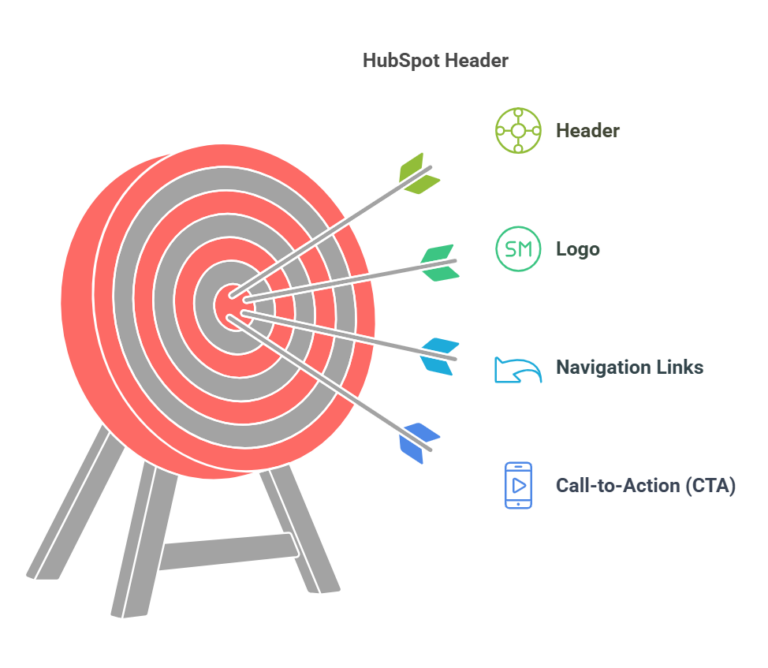
The header is often the first element a visitor or reader encounters.
It contains your logo, navigation links, and sometimes a call-to-action (CTA).
A well-designed header can improve the user experience by making navigation easier and highlighting important information.
How to Build a Header in Hubspot for a Website
Step 1: Access Your HubSpot CMS
Log into your HubSpot account and navigate to the “Website” section under the “Marketing” tab.
Here, you’ll find the “Pages” option where you can start editing your website’s header.
Step 2: Choose a Template
HubSpot provides several pre-designed templates that include header sections. Select a template that aligns with your brand’s aesthetics. If you prefer, you can start from scratch by selecting a blank template.
Step 3: Customize Your Header
Use HubSpot’s drag-and-drop editor to customize your header. Add your logo, navigation links, and other elements such as a search bar or social media icons.
You can also adjust the spacing, colors, and fonts to match your brand guidelines.
Step 4: Implement Standard Header Includes
If you want to add custom HTML, CSS, or JavaScript to your header, you can do so by accessing the “standard_header_includes” option in HubSpot.
This allows for deeper customization and can enhance the functionality of your header.
Step 5: Save and Publish
Once you’re satisfied with your header design, save your changes and publish the page. Your new header will be live on your website.
How to Build a Header in Hubspot for Email Marketing
Step 1: Navigate to the Email Editor
Go to the “Marketing” tab and select “Email.” Choose an existing email template or create a new one.
Step 2: Add a Header Section
In the email editor, drag the “Header” module into your email layout.
HubSpot offers several header styles designed for emails.
Step 3: Customize Your Email Header
Insert your logo, adjust the layout, and add elements like a CTA button.
Ensure that your header is responsive and looks good on both desktop and mobile devices.
Step 4: Preview and Test
Before sending your email, preview it to ensure the header displays correctly. Send a test email to yourself and check it on different devices.
How to Build a Header in Hubspot with Custom Fields
Step 1: Understand Custom Fields
Custom fields allow you to personalize your headers based on user data. For example, you can display a personalized greeting in your email header using the recipient’s name.
Step 2: Create Custom Fields in HubSpot
Go to the “Settings” tab and select “Properties.” Here, you can create custom fields that can be inserted into your headers.
Step 3: Insert Custom Fields into Your Header
When editing your header, click on the “Insert” dropdown and select “Custom Field.”
Choose the field you created and place it within your header design.
How to Build a Header in Hubspot Using Standard_Header_Includes
Step 1: Access Standard Header Includes
HubSpot’s “standard_header_includes” is a powerful tool for adding custom scripts and styles to your headers.
Navigate to your template settings and find the “Advanced Options” to access this feature.
Step 2: Implementing Scripts and Styles
You can add tracking codes, custom fonts, or third-party integrations directly into your header.
This is particularly useful for advanced users looking to enhance their header’s functionality.
Step 3: Testing and Debugging
After adding your custom code, thoroughly test your header to ensure everything works as expected. Look for any conflicts or issues that may arise from the custom scripts.
How to Build a Header in HubSpot Example
Let’s say you want to build a header that includes a logo on the left, a navigation menu in the center, and a CTA button on the right.
Here’s how you would do it:
Drag the Logo Module
Place it on the left side of the header.
Add the Navigation Menu
In the center, drag the navigation module, and select the appropriate menu items.
Include a CTA Button
Drag a CTA button to the right side. Customize the button text and link it to your desired landing page.
Style the Header
Adjust the padding, background color, and font styles to match your brand.
Where in the HubSpot CMS Can You Edit Your Website’s Header?
Editing your website’s header in HubSpot CMS is straightforward. Here’s how you can do it:
Step 1: Access Your Website Pages
Go to the “Marketing” tab and select “Website” > “Website Pages” or “Landing Pages,” depending on what you want to edit.
Step 2: Choose the Page to Edit
Select the page where you want to edit the header. You can either choose a pre-existing page or create a new one.
Step 3: Edit the Header Module
Click on the header section of the page. If your template uses a global header, editing it here will update it across all pages using that template. You can modify elements like logos, navigation menus, CTAs, and more.
Step 4: Save and Update
After making the necessary changes, save your work and update the page. Your new header design will now be live.
HubSpot Edit Website Header: A Quick Walkthrough
Editing a website header in HubSpot involves selecting the right template and using HubSpot’s intuitive drag-and-drop interface to make changes. Here’s a quick walkthrough:
Choose the Right Template
Start by selecting a template that includes a header layout you like. HubSpot offers a variety of templates tailored to different industries and purposes.
Customize the Layout
Drag elements like logos, menus, and CTAs into the header section. You can also adjust the size, alignment, and color scheme to match your brand identity.
Use Global Content
If your header will be consistent across multiple pages, make it a global element. This way, any changes you make to the header will apply to all pages that use it.
Troubleshooting and FAQs
Even with HubSpot’s user-friendly tools, you might encounter issues or have questions.
Here are some common challenges and how to address them:
The footer isn’t displaying correctly on mobile?
Use HubSpot’s mobile preview feature to adjust padding and font sizes for better responsiveness.
The footer isn’t linking correctly?
Double-check your URLs and ensure that all links are properly inserted.
What size is a HubSpot email header for Startups and SMEs?
For startups and SMEs using HubSpot, the recommended size for an email header is 600-800 pixels wide and around 150-200 pixels high.
How to create a footer in HubSpot for free?
To create a footer in HubSpot for free, use HubSpot’s drag-and-drop email or website editor.
Add a footer section, customize it with text, links, and branding, and save it as a global module if you want to reuse it across multiple pages or emails.
How do I add header code to HubSpot for free?
To add header code to HubSpot for free, navigate to your HubSpot account settings, go to “Website” under the “Tools” section, and select “Pages.”
In the “Header HTML” field, you can paste your custom code, such as scripts or meta tags, which will be applied site-wide.
I am a certified HubSpot Consultant, Full Stack Developer, and Integration Specialist with over 15 years of experience successfully transforming business-critical digital ecosystems. My expertise spans the entire software lifecycle, ranging from high-performance web application development to managing large-scale migrations, enterprise-grade CRM integrations, and secure compliance-driven solutions.

 HubSpot Consulting Needs